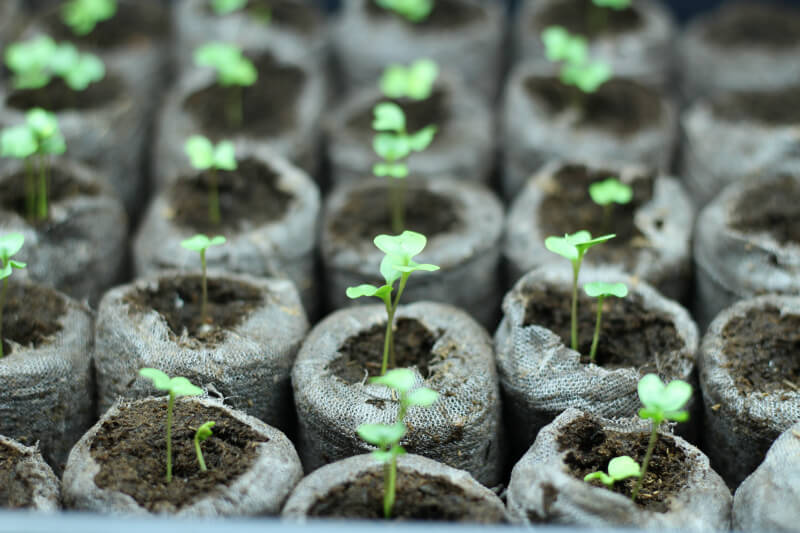
Seed Starting Technique

It’s still cold and the ground is still frozen but the warmer temperatures earlier this week have us thinking about spring. One of the most exciting parts of any new garden season is the planting of new material in our beds. Be they flowers or vegetables the process is essentially the same when you plan to start from seed. Here are some tips to give the seeds a head start and your pocket book some savings.

Planting Systems
There are never ending options for seed starting, both homemade or store bought each has pros and cons. Consider using a prefabricated system for your first attempt to simplify the process and reduce decisions such as spacing and moisture retention. Seed trays will come with peat pellets and a clear dome to retain moisture. If you’re feeling adventurous consider making your own system using cardboard or peat pots and a water collection system. I cannot stress enough that you need to ensure the system is stable and has a good water collection system, since when seeds are started indoors any leaky messes are inside and a huge pain to clean, trust me I speak from experience.
Oxygen & Soil
These two items are intertwined, since before your little seed has leaves for photosynthesis its primary source of life is in the planting medium. The seeds need to have adequate oxygen and this can be achieved by ensuring that the soil is light textured. A proper seed starting soil or peat pellet is vital. Equally important is that you not overwater the seed as this will cause rot. A good soil will have some built in safeguards against this sort of rot but it’s not fail safe so be cautious in how much water you are adding to either the tray or individual pot depending on your system.
Light & Warmth
Great light is necessary when starting seeds so if you don’t have a greenhouse you’ll have to make do. Sun light from most windows will not suffice to effectively warm seeds and cause germination. Unless you have a large south facing window with approximately 6 hours of daily sunlight you’re best to invest in a fluorescent fixture. Some systems will include a built in overhead light but if you need to buy one separately a good four foot fixture with 2 fluorescent bulbs will suffice. A regular fixture will do, no need to buy really expensive grow light systems. Keep in mind you will want to warm the seeds to approximately 75 degrees each day and drop by approximately 10 degrees at night. After the first shoots emerge ensure a minimum of 12 hours of light per day. Keep the germinated seeds as close to the fixture as possible without touching.
Repotting
Once the seedlings develop their first “true leaf” (you’ll recognize these as they look like the final plant leaf rather than the small curled leaf that first appears) you can bet a root system is well underway and it’s time to transfer your individual seedlings to their own 4” pots. Transfer gently, separating the roots with a light plastic fork, into a new medium of seedling potting soil. After about 3 weeks any original nutrients will be spent so ensure to fertilize using a seedling specific fertilizer.
Once the plants are large enough and the weather warm enough it’s time to move them outdoors. Be sure to harden them off slowly. Increasing time outside incrementally until they are out all day, this should be after any threat of frost has passed. After a week of bringing them in and out this way leave them overnight and you should be good to plant the following day.
Good luck! We’d love to hear your seed starting adventures, be sure to post them to our Facebook page!

