

Summer in a Jar: How to Make Homemade Canned Peaches 🍑
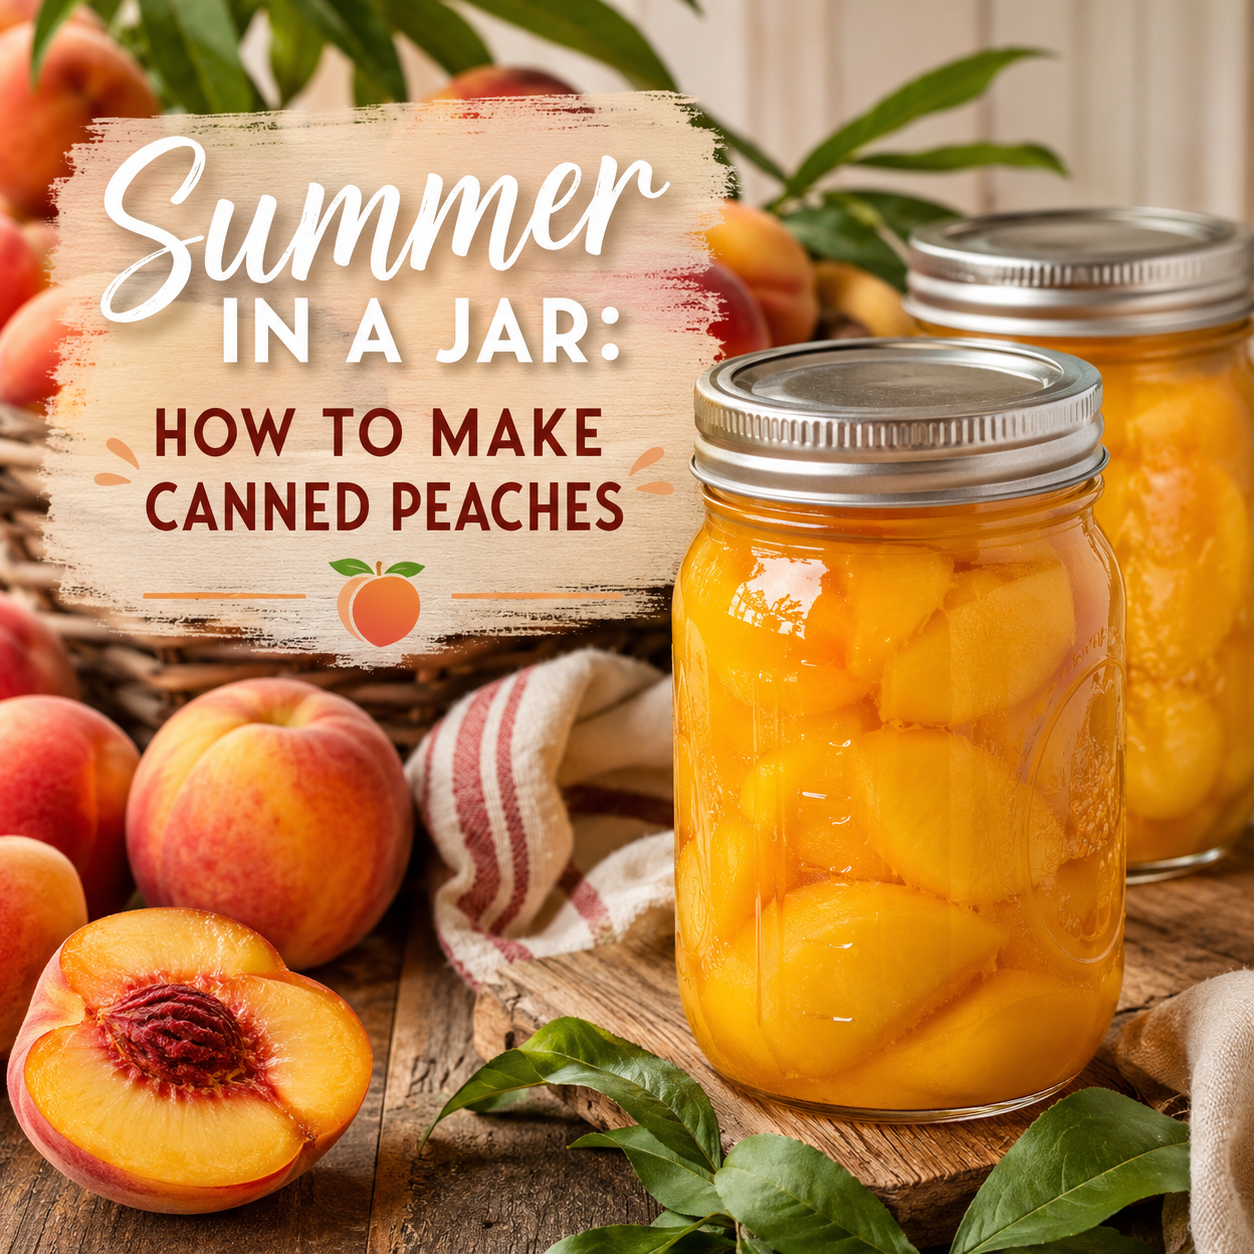
There’s something about a perfectly ripe Ontario peach that just tastes like summer.
Sweet, juicy and almost impossible to eat without making a little bit of a mess, fresh peaches are one of those seasonal treats we wish would stick around a little longer. The good news? They can.
Canning peaches is a surprisingly simple way to capture that fresh summer flavour and enjoy it long after peach season has ended. And when you start with beautiful, locally grown peaches at their peak, you really can taste the difference.
Why Can Your Own Peaches?
Besides the satisfaction of seeing those gorgeous golden jars lined up in your pantry, home canning gives you control over what goes into them.
You can adjust the sweetness, choose a lighter syrup and skip many of the extras found in commercially canned fruit. Best of all, when January rolls around and local peach season feels very far away, you can open a jar and get a little taste of August.
Canned peaches are wonderful on oatmeal, yogurt, pancakes and ice cream, baked into cobblers and crisps—or eaten straight from the jar. We won’t judge.
Choose the Right Peaches
Great canned peaches start with great fresh peaches.
Look for peaches that are ripe but still firm. They should smell wonderfully peachy and give just slightly when gently pressed. Very soft or bruised peaches are better saved for jam, baking or eating right away.
Freestone varieties are particularly handy for canning because the flesh separates easily from the pit.
If your peaches aren’t quite ripe when you bring them home, leave them at room temperature for a day or two. Don’t rush them—you want that beautiful peach flavour to fully develop.
What You’ll Need
For a basic batch of canned peaches, gather:
Fresh ripe peaches
Granulated sugar
Water
Bottled lemon juice
Clean canning jars, lids and rings
A large pot or water-bath canner
Jar lifter
Canning funnel
A small knife or peach peeler
The exact amount of fruit and syrup you’ll need depends on how many jars you’re preparing, so it’s best to follow a current, tested home-canning recipe for your jar size.
Step 1: Peel Your Peaches
Here’s the trick that makes peach peeling much easier.
Bring a large pot of water to a boil and prepare a bowl of ice water. Carefully lower the peaches into the boiling water for approximately 30–60 seconds, then immediately transfer them to the ice bath.
Once they’re cool enough to handle, the skins should slip off surprisingly easily.
Cut each peach in half, remove the pit and slice or leave the halves intact.
Step 2: Prepare Your Syrup
Peaches can be canned in water, juice or sugar syrup. A light syrup is a popular choice because it adds a little sweetness without overpowering the natural flavour of the fruit.
Prepare your syrup according to the tested canning recipe you’re using and keep it hot while you prepare the jars.
And remember: the syrup isn’t what makes canned peaches safe—the proper canning process does.
Step 3: Fill the Jars
Pack your prepared peaches into clean, hot canning jars and cover them with hot syrup, leaving the amount of headspace specified by your tested recipe.
Add bottled lemon juice if your recipe calls for it.
Run a non-metallic utensil around the inside of the jar to release trapped air bubbles. Check the headspace again, wipe the jar rims clean and apply the lids and rings.
Don’t crank those rings down with superhero strength—fingertip tight is enough.
Step 4: Process in a Water-Bath Canner
Peaches are a high-acid fruit and can be safely preserved using a boiling-water canner when a tested home-canning recipe is followed.
Processing time varies depending on several factors, including whether the peaches are raw-packed or hot-packed, the size of the jars and your elevation.
For that reason, always use current processing instructions from a trusted canning authority rather than relying on a one-size-fits-all time.
Once processed, carefully remove the jars and place them upright on a towel where they can cool undisturbed for 12–24 hours.
Then comes one of the most satisfying sounds in summer preserving:
POP!
That’s the sound of those lids sealing.
Check Your Seals
Once the jars have completely cooled, check that each lid has sealed properly. The centre should be slightly concave and shouldn’t flex up and down when pressed.
Any jar that hasn’t sealed should be refrigerated and enjoyed promptly rather than stored on the shelf.
Label your sealed jars with the contents and date, then store them in a cool, dark, dry place.
A Little Summer for Later
Canning can feel intimidating the first time you try it, but peaches are a wonderful place to start.
There’s something wonderfully old-fashioned about taking fruit that’s perfectly ripe today and preserving it for months down the road. It’s practical, delicious and just a little bit satisfying when you look at that row of golden jars afterward.
And when you’re spooning summer peaches over vanilla ice cream in the middle of winter?
You’ll be very glad you did.
Fresh Peach Season Doesn’t Last Forever! 🍑
Take advantage of fresh peach season while it’s here. Pick up a basket of beautiful, ripe peaches from the Ridgeview Farm Market, enjoy a few fresh—and save a few jars of summer for later.
Happy canning!